

How to host your OpenAI GPT on your website
OpenAI GPTs are a great product but currently have a huge number of limitations. In this guide, we'll help you go past these limitations and host your own GPT in your domain without any coding. We'll achieve this by turning your GPT into an Assistant, then we'll utilize OpenAI's Assistant's APIs to host the assistant on your website. This is a pretty complex thing to do if you're not a developer or aren't experienced in coding. In that case we recommend you check out some GPT hosting providers like Agenthost.ai that allow you to host your GPT on your own website without any coding.
Try Agenthost for hosting your GPT
Agenthost lets you easily create useful AI agents from OpenAI GPTs and connect them to over 6k+ other apps. Join thousands of creators building AI agents on Agenthost.
Trusted by teams at
At the time of this blog's writting, creating GPTs is in beta and only available to ChatGPT plus users. You will need to sign up for ChatGPT plus if you haven't already. Take some time to create, test and fine tune your GPT until you are generally happy with it. Once that's done, we can move on to turning it into an assistant
Turn your GPT into an Assistant
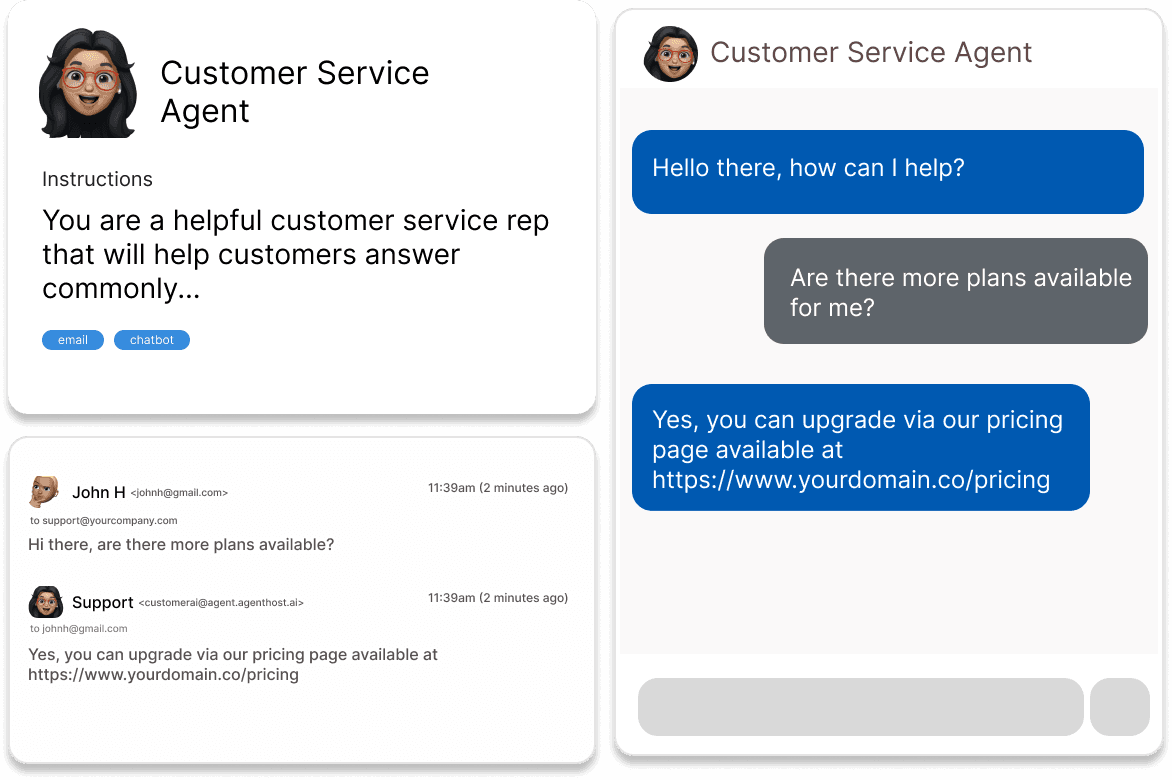
Once you're happy with your GPT, you can go ahead and generate an assistant from it. To do this you will need to go to the edit GPT screen and then select the Configure option. After doing this, you'll be able to see the main details of your GPT including the name, description and most importantly, the instruction and your files.
Steps
1) In another tab, open the OpenAI API page, and go to the Assistant's tab. Click on the button to create new assistant or open the assistant you would like to mirror the GPT onto.
2) Find your GPT instruction and files by going to GPT explore page then selecting Edit on your desired GPT. Next, toggle the Configure option. Paste the instruction into the Assitant's instruction field in the API page.
3) Download all the uploaded documents from the GPT configure page, then go to the Assitant detail page and upload the documents there.
4) Make sure the settings for GPT capabilities are mirrored exactly in the Assistant's settings.
5) Save the Assistant, wait until it updates and you'll have an Assistant that's generally as close to your GPT as you can get. You should continue to use the GPT builder to evolve your GPT. Just remember to update the instructions in the Assistant page to keep it up to date!
Add the Assistant to your website
Great, you now have your new Assistant which gives you the power to control the agent in ways that you can't with GPTs. Ofcourse you'll now be charged for the Assistant usage unlike GPT usage. Adding the Assistant to your website is still no small feat. You'll need to integrate with the Assistant API, and create endpoints for your website to retrieve responses from the Assistant. If you aren't an experienced developer, this is still a huge amount of work. Thankfully there are some service provider that can take care all of this for you and let you host your agent in minutes without any code.
Open AI GPT hosting providers
AgentHost.ai
Free tier available.
As the name suggests, Agenthost provides a no-coding required hosting experience. They take care of creating and using the assistant api for you behind the scenes and you get the ability to host your assistant on your website through their beautiful UI. Your agent also gets it's own SEO optimized website and chat page plus it even lets you add subscriptions and payments to start generating revenue from your newly minted assistant.
Sign up for our newsletter
Be the first to know when we release new guides and features